
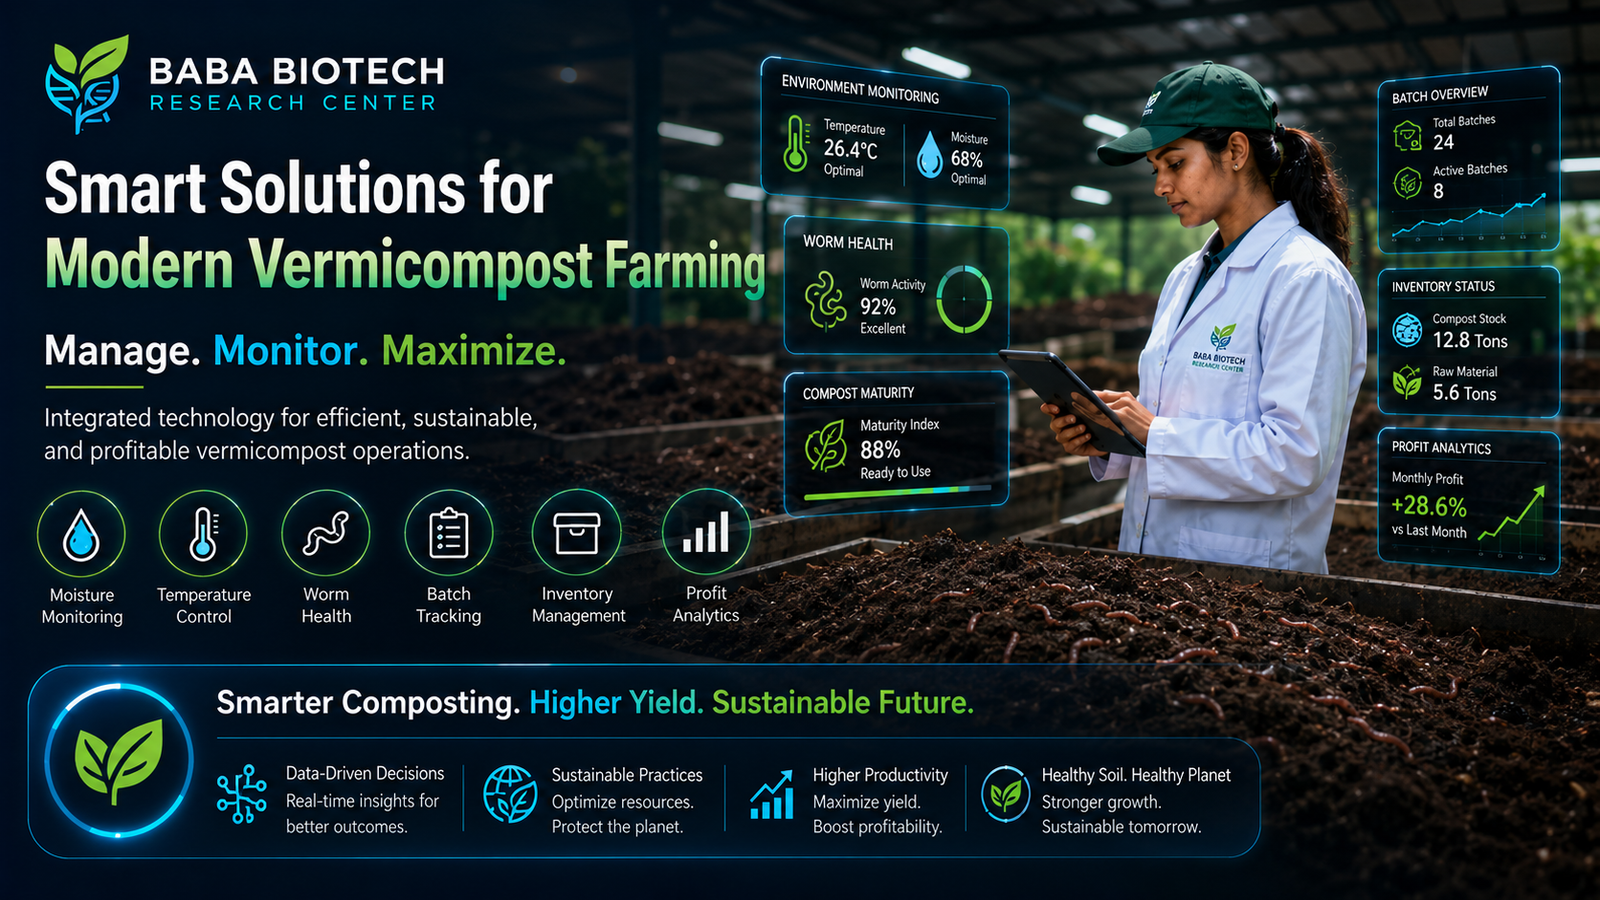
Vermicompost Unit
Turn farm waste into rich organic manure with a clean vermicompost system.
A dedicated vermicompost project page for earthworm bed planning, organic waste layering, moisture control, curing, sieving, packing, and manure supply.
Daily unit routine
Good vermicompost needs shade, moisture, and steady organic feed.
This page explains the practical working flow of a vermicompost unit: collect biodegradable material, prepare beds, protect earthworms, and harvest mature compost at the right stage.
Collect organic waste
Use farm residue, dry leaves, cow dung, and vegetable waste after removing plastic or harmful material.
Prepare worm beds
Layer bedding, semi-decomposed input, and earthworms in a shaded area with proper drainage.
Maintain moisture
Keep the bed damp but not waterlogged, and protect worms from heat, ants, chemicals, and direct sun.
Harvest and sieve
Collect mature dark compost, separate worms, sieve the manure, and pack it for field use or sale.
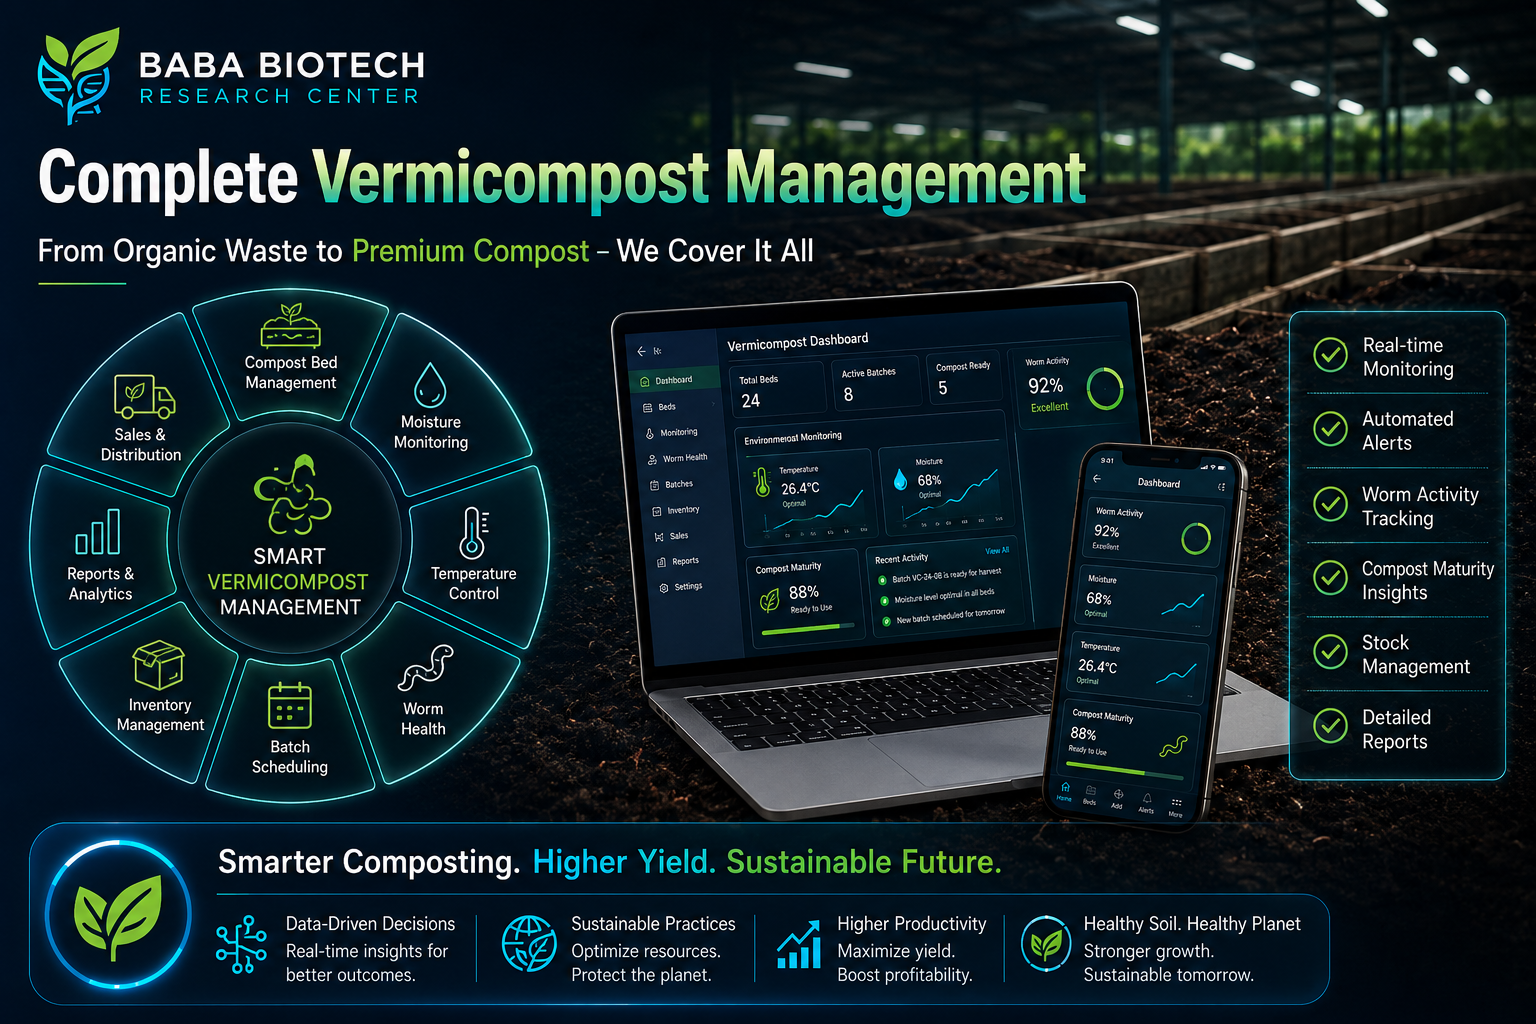
Organic manure system
A vermicompost unit works best when waste, worms, water, and shade stay in balance.
Vermicompost is not just a waste pit. It is a managed biological unit where earthworms convert organic material into nutrient-rich manure. The page now shows the bed preparation, care routine, harvesting, and packing flow clearly.
- Covered shed or shaded area with drainage and easy material movement
- Layered bedding, cow dung, dry leaves, and biodegradable farm waste
- Moisture checks, worm protection, curing, sieving, and bagging process
Compost flow
From organic waste to ready manure
Keep the vermicompost page centered on the real production flow visitors understand: input preparation, earthworm activity, compost maturity, and clean packaging.
Prepare inputs
Sort biodegradable material and pre-decompose fresh waste so the bed stays safe for worms.
Build the bed
Use a proper base layer, add organic input, introduce worms, and keep the bed under shade.
Manage moisture
Sprinkle water as needed, maintain airflow, and avoid overheating or waterlogging.
Harvest compost
Separate mature manure, return worms to new beds, sieve the compost, and pack it cleanly.
Manure quality
Quality compost should look mature, clean, and easy to use in the field.
A professional vermicompost unit should show that the manure is produced with controlled moisture, clean inputs, proper curing, and careful packing.

Vermicompost support areas
Photos that explain organic manure production
Each image supports a real part of the vermicompost process, from input preparation and bed care to harvesting, sieving, packing, and use.
A shaded, organized unit protects earthworms and keeps the organic manure process predictable.
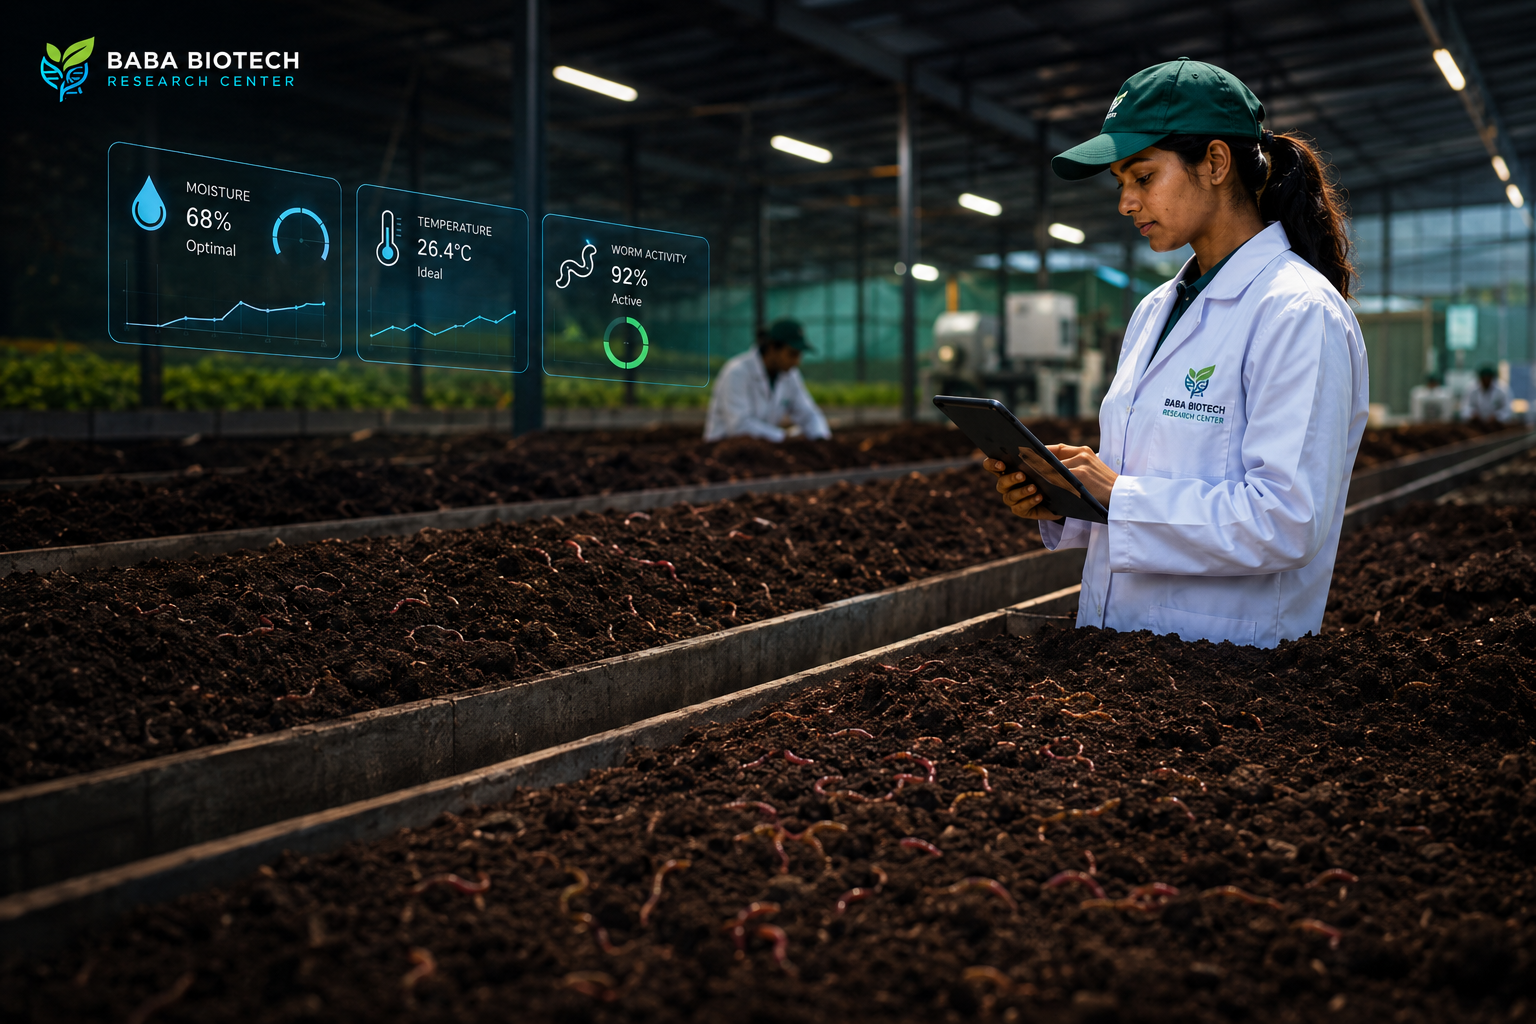
Farm waste and cow dung are prepared before layering so earthworms can process them safely.
The bed needs shade, airflow, moisture, and protection from heat or pests.
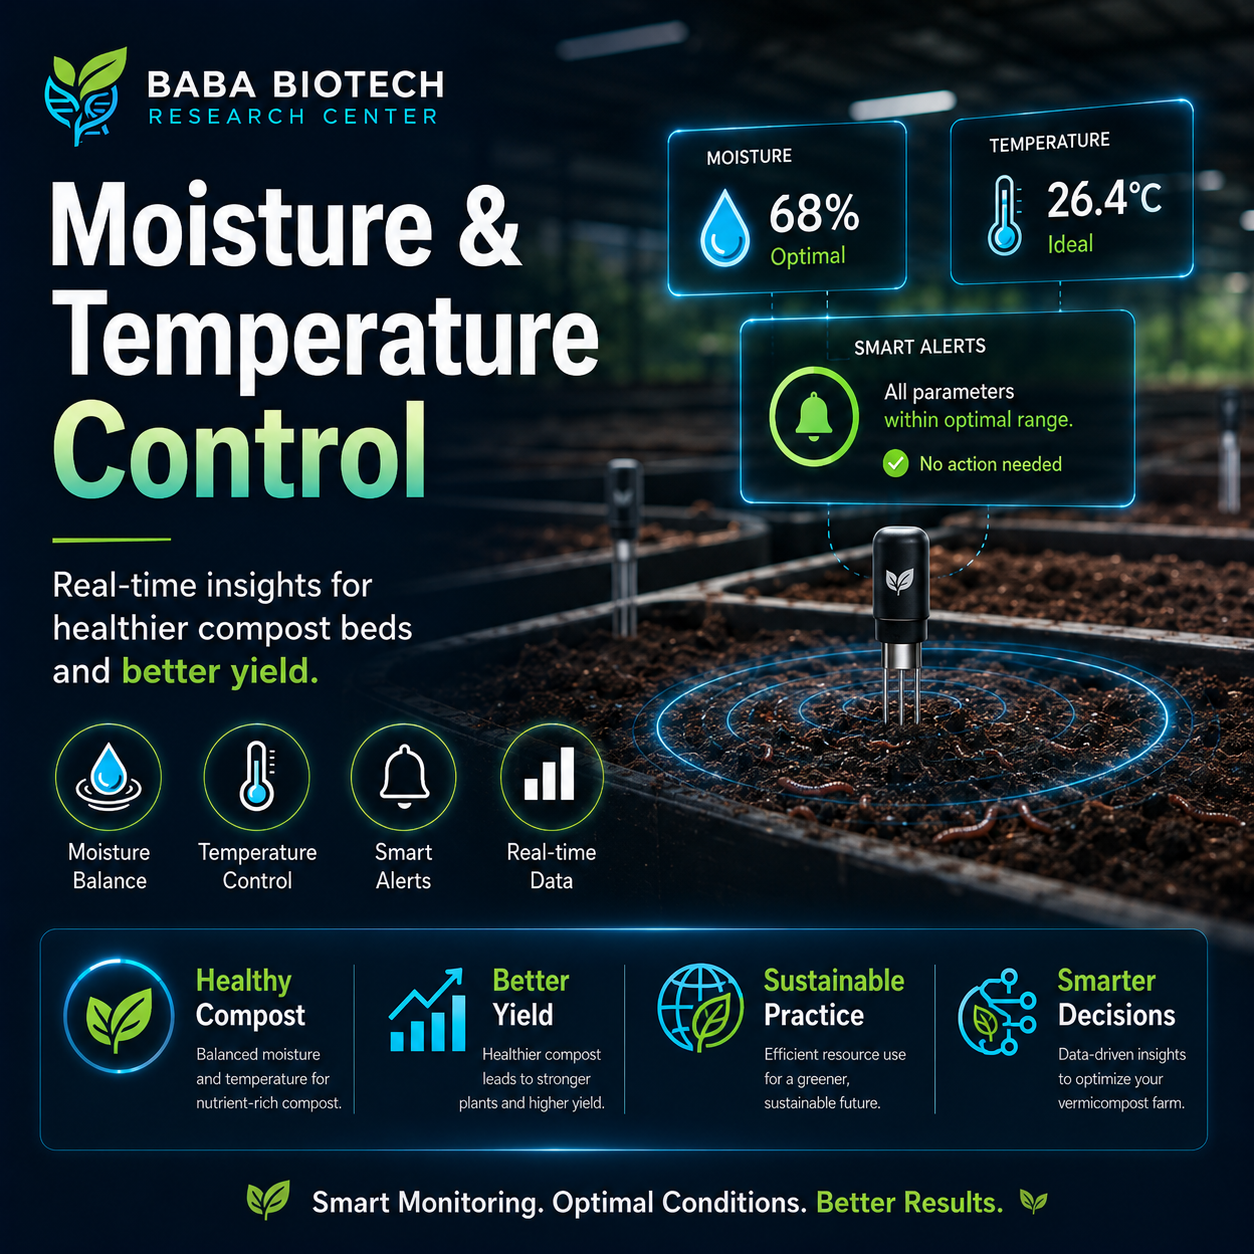
Regular moisture checks keep worms active and prevent the bed from drying out.
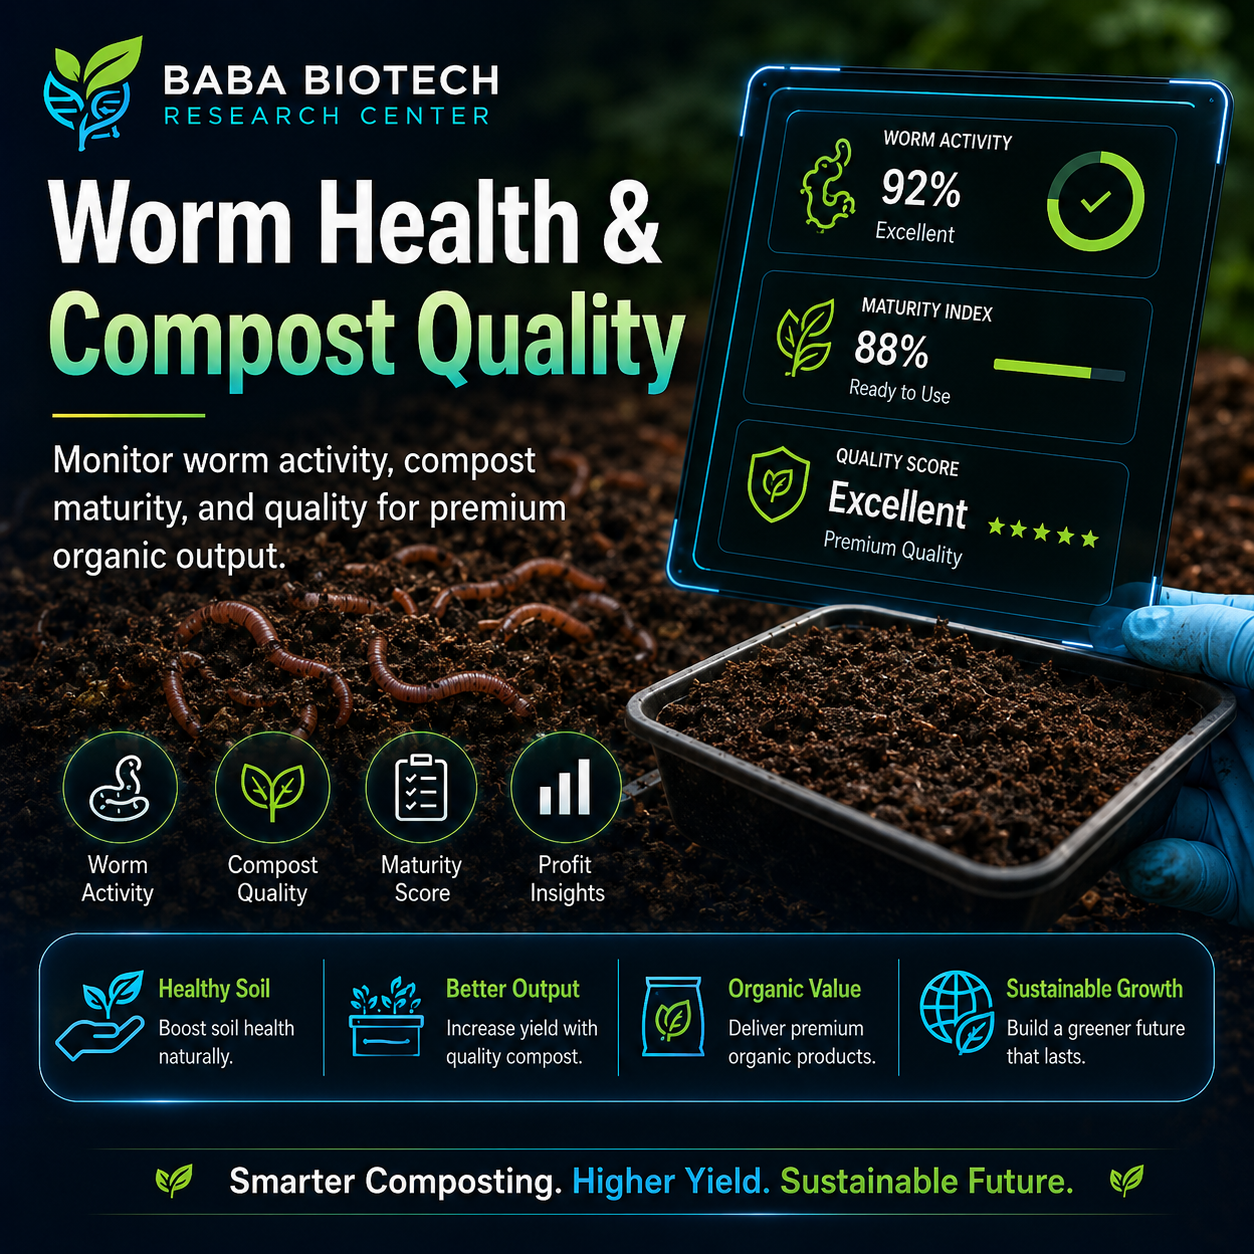
Mature compost is separated carefully so worms can be reused in the next bed cycle.
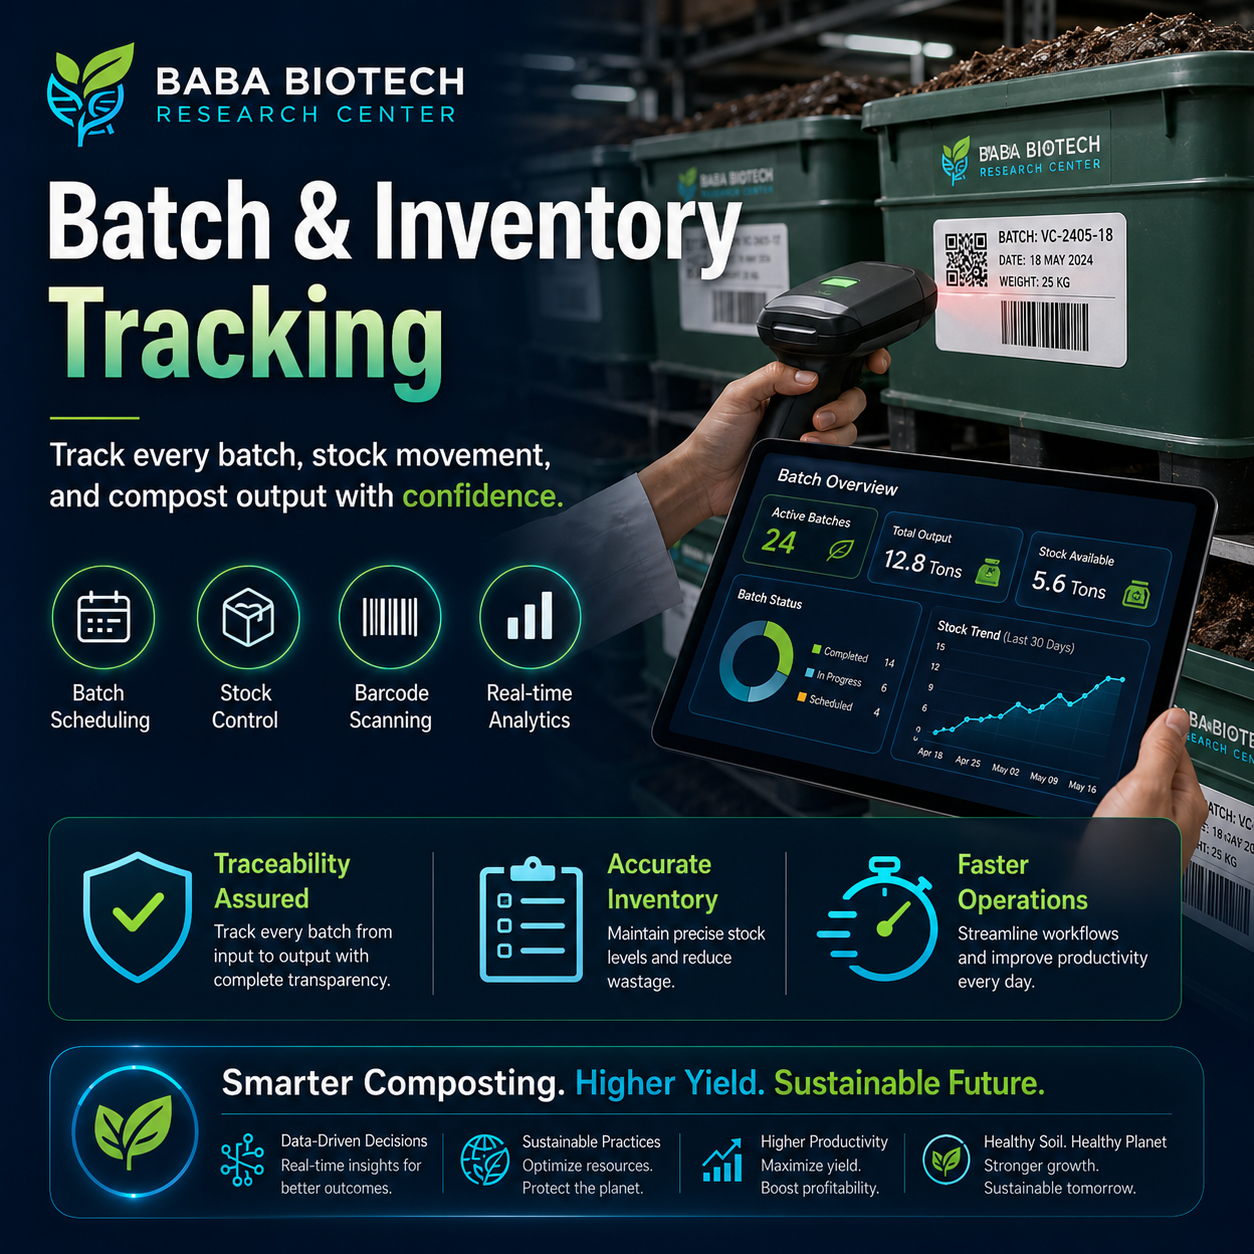
Finished manure is sieved, cured if needed, and packed cleanly for farm application or sale.
Unit layout
Vermicompost zones visitors should understand
A credible vermicompost project page should explain where raw material, active beds, curing, sieving, packing, and storage happen.
Input and pre-decompose area
Farm waste sorting, cow dung mixing, and partial decomposition before earthworm feeding.
Earthworm bed area
Shaded beds with drainage, moisture control, airflow, and protection from pests and chemicals.
Harvest and packing area
Worm separation, manure sieving, curing, weighing, bagging, storage, and dispatch.
Vermicompost project enquiry
Plan a vermicompost unit with the right bed layout, shade, moisture, and packing flow.
Use the contact page to discuss waste availability, unit capacity, earthworm bed size, shed planning, manure packing, and sales targets.